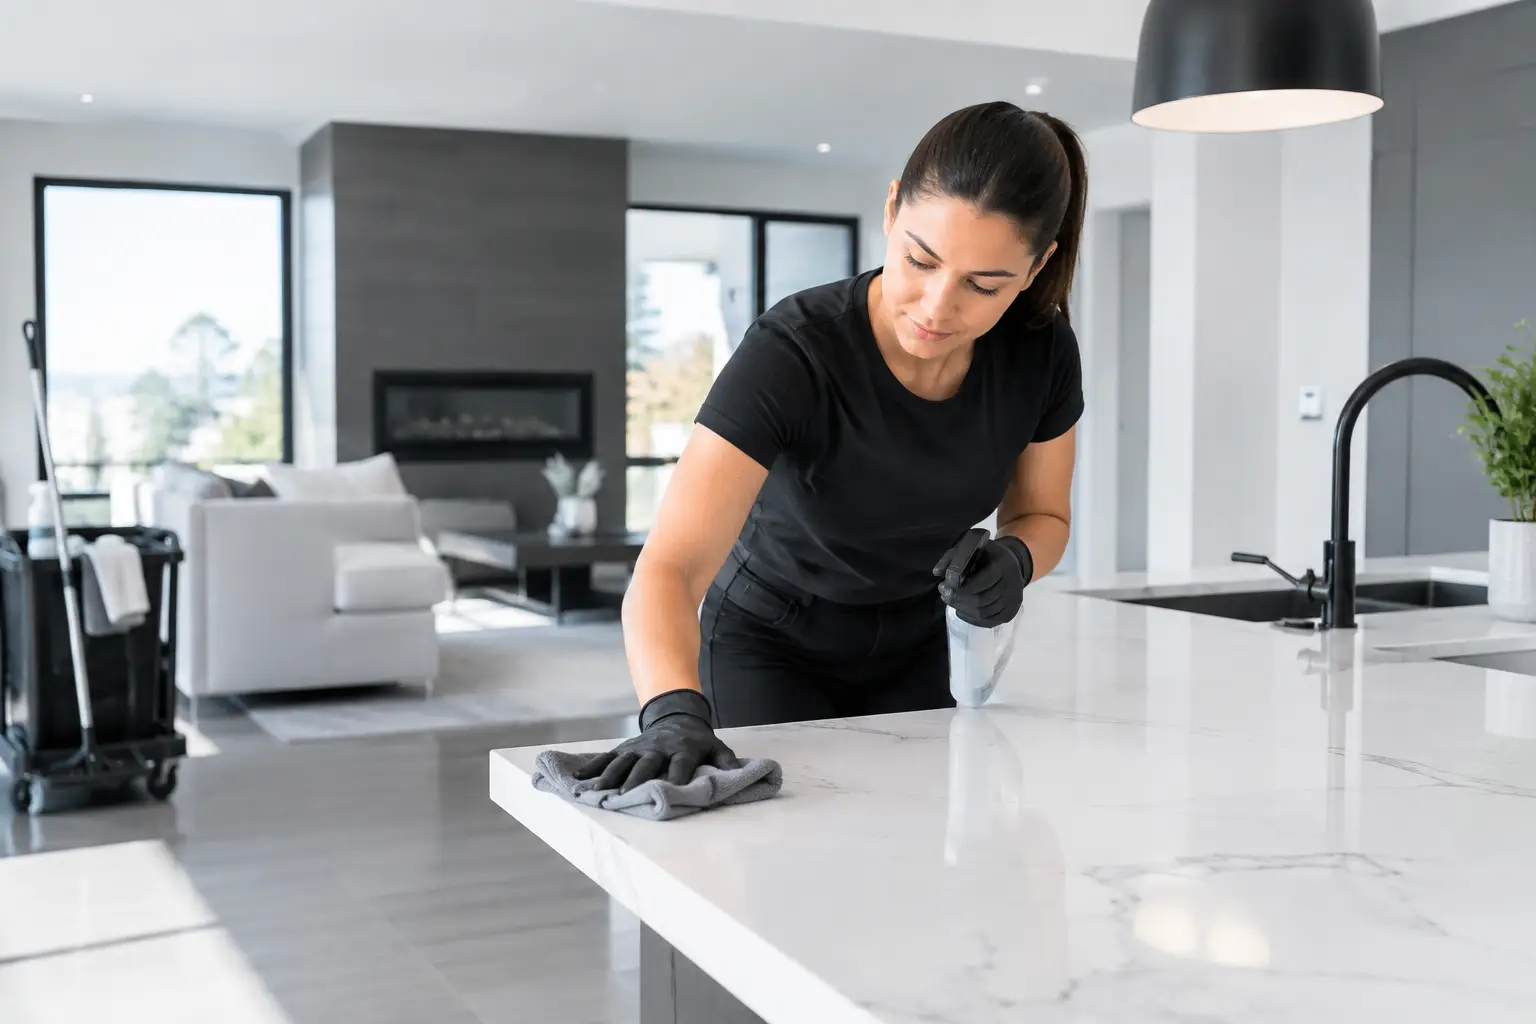
A renovation can look finished long before the space is actually ready to use.
The tools may be gone and the new kitchen, bathroom, basement or office may look complete, but fine construction dust has a way of turning up everywhere: along trim, across walls, on top of doors, inside drawers, around hinges, on light fixtures and across surfaces that were nowhere near the actual work.
Post-renovation cleaning in Vaughan is the detailed cleaning stage that comes after the construction work is substantially complete. The goal is not simply to make the space look tidy. It is to remove the remaining dust and residue carefully enough that the finished area finally looks and feels finished.
If you are planning to tackle the cleanup yourself, the biggest thing to know is that renovation dust behaves differently from normal household dust. It usually takes more than one pass, the order matters, and the wrong approach can send fine particles straight back into the air.
Why renovation dust is different from normal household dust
Construction dust is usually much finer than the dust created through everyday living. Drywall sanding, cutting wood, drilling, installing cabinetry, tile work and other renovation tasks can produce particles that travel well beyond the immediate work area.
That is why a newly renovated room can look clean at night and appear dusty again the following morning.
Some of the dust may still be airborne. Some may have settled on higher surfaces and been disturbed during cleaning. Fine particles can collect on walls, trim, doors, fixtures and cabinetry before eventually dropping back onto counters and floors.
That does not necessarily mean the cleaning was done incorrectly. It is one of the reasons post-renovation cleaning often takes several passes before the room begins to look completely finished.
Start with the proper vacuum before you start wiping
Before any detailed wiping begins, the first job is to remove as much loose construction dust as possible with the proper vacuum.
Fine renovation dust should not be pushed around with a broom or immediately wiped across the surface. Sweeping can send particles back into the air, while wiping heavy loose dust too early can simply spread it around.
A HEPA-rated construction vacuum or fine-dust shop vacuum is usually the better starting point, particularly when drywall dust or other very fine particles are involved. Standard household vacuums are not always designed to handle that level of fine debris and can clog quickly or allow dust to recirculate.
The initial vacuuming should be thorough and should follow the same top-to-bottom order as the rest of the clean.
- Start with higher ledges and accessible surfaces.
- Vacuum the tops of doors and door frames.
- Address window frames, sills and tracks.
- Remove loose dust from walls, trim and baseboards where appropriate.
- Vacuum cabinetry, shelving, frames and detailed areas.
- Work down toward floor edges, corners and the main floor surfaces.
The purpose of this first stage is to remove the bulk of the loose particles before moving into the finer work.
Why sweeping usually makes the job harder
Sweeping may seem like the fastest way to deal with visible dust, but fine renovation particles can easily become airborne again.
Once they are disturbed, they settle back onto walls, trim, cabinetry, counters and floors after you have already moved on to another area.
That can make it feel like the room is getting dusty all over again.
Vacuuming with equipment designed for fine dust keeps far more of those particles contained and gives you a better starting point before the detailing begins.
Vacuuming removes the loose dust. Detailed cleaning removes the film.
Even after thorough vacuuming, fine construction dust often leaves a visible film behind on walls, trim, cabinetry, doors, fixtures, hardware and other finished surfaces.
That residue usually needs to be removed with careful damp cleaning using a method appropriate for the material.
This is where the space starts to look noticeably different. Vacuuming deals with the loose particles. The next stage removes the remaining film that can make new surfaces still look dull or dusty.
The goal is not to soak everything. It is to use enough moisture to capture and remove the residue without damaging the surface underneath.
The order of cleaning matters
Post-renovation cleaning works best from top to bottom.
Start by vacuuming the higher areas first, including the tops of doors, trim, ledges, window frames, sills, fixtures and other surfaces where dust has settled. Then continue downward through walls, cabinetry, hardware, baseboards and finally the floors.
Once the loose construction dust has been removed, follow the same top-to-bottom order during the detailed cleaning.
This keeps dust from higher surfaces from falling onto areas you have already finished and reduces the amount of unnecessary re-cleaning.
Why renovation cleaning usually takes more than one pass
One of the most important things to understand about post-renovation cleaning is that the first full clean is rarely the final one.
After the initial vacuuming and first detailed pass, some fine dust may still settle again.
That is normal during many renovation cleans. Very fine particles can remain airborne, and dust disturbed from higher or hidden areas can continue settling after the first round of work.
This is why many spaces need two or three passes before the new finishes look completely clean.
The first pass removes the majority of the construction dust and residue. The second pass catches what has settled again and reveals areas that were harder to see during the heavier cleanup. A final pass is usually about detail: walls, handles, hinges, fixtures, trim, glass, edges and the smaller areas that determine whether the room looks truly finished.
Do not be alarmed if some dust comes back after the first pass
If you have vacuumed properly, completed the first detailed clean and notice a fine layer of dust returning afterward, it does not automatically mean you did something wrong.
The important thing is that each pass should leave less behind.
By the second pass, you should be dealing with much less dust. By the final pass, the work should shift away from bulk removal and toward finishing details.
Where renovation dust tends to hide
Floors and countertops are the obvious areas, but they are rarely the only places holding construction dust.
Fine dust settles on vertical surfaces, hardware and small details that are easy to overlook. When those areas are missed, the room can still look slightly dull or unfinished even though the main surfaces have already been cleaned.
- Walls, particularly around the renovation area and anywhere drywall dust has travelled
- Top edges of doors and door frames
- Baseboards, trim, mouldings and ledges
- Door handles and cabinet handles
- Light fixtures and accessible fixture surfaces
- Switch plates and outlet covers
- Window sills, frames and tracks
- Exterior surfaces of vents and return-air covers
- Closet shelving and accessible closet surfaces
- Cabinet and drawer interiors
- Cabinet doors, frames, edges and hinges
- Bathroom vanities and hardware
- Glass doors, mirrors and shower glass
- Edges and corners beside newly installed flooring
- Behind and beside appliances where access is available
Walls are often overlooked because people tend to focus on the floor and the surfaces directly in front of them. After sanding or drywall work, however, walls can hold a visible film that makes the entire room still appear dusty even after the floor has been cleaned.
Different surfaces need different approaches
Not every finished surface should be cleaned in exactly the same way. The same renovation can contain glass, natural or engineered stone, finished wood, stainless steel, tile, hardwood and other materials that each have their own care requirements.
Cabinetry is a good example. Construction dust can settle inside cabinets and drawers, but also along the cabinet frames, door edges, handles, corners and hinges. Cleaning only the shelf or drawer bottom can leave the cabinetry looking unfinished when the doors are opened.
Windows require attention beyond the glass itself. Frames, sills and tracks can collect construction dust and should be vacuumed and cleaned as part of the same top-to-bottom process. The glass may then need a final polish once the surrounding work is complete.
Stone countertops, finished wood, stainless steel, flooring and new fixtures also deserve material-appropriate care. A product or technique that works well on one surface can damage another, particularly when finishes are new.
The goal is not to use the strongest product or the most aggressive method. It is to remove the residue while protecting what was just installed.
When the space is not starting from a clean slate
Not every renovation takes place in an empty, newly constructed space.
A kitchen may have new cabinets and countertops but still have years of grease buildup around the surrounding walls, trim, appliances and floors. A bathroom may have new tile or fixtures while existing surfaces still carry soap residue, mineral buildup or accumulated grime.
In those situations, the cleaning is dealing with two different problems at once: construction residue from the renovation and existing buildup from everyday use.
Those surfaces may require different products, techniques and multiple passes. Trying to remove everything with one cleaner or one aggressive scrub can damage a newly finished surface while still leaving older buildup behind.
This is one reason the condition of the property matters when determining the scope of a post-renovation clean. A partially renovated space with years of existing buildup can require considerably more work than an otherwise clean space receiving the same renovation.
Not every construction mark is ordinary cleaning
Dust is one thing. Hardened paint, grout haze, silicone, adhesive, caulking, cement-based residue and other construction materials can be something entirely different.
They should not automatically be attacked with the strongest cleaner or most abrasive tool available.
New stainless steel can scratch. Certain stone surfaces can react to unsuitable products. New flooring can have manufacturer-specific care requirements, and some glass or finished fixtures can be permanently marked by aggressive scraping.
If unusual construction residue remains, identify the material and the affected surface before deciding how it should be removed.
Depending on the residue, its condition and the surface underneath it, specialty treatment or contractor correction may be more appropriate than normal cleaning.
If the manufacturer supplied care instructions for a new floor, countertop, appliance or specialty fixture, follow those instructions before experimenting with general-purpose products.
How to prepare before tackling the cleanup yourself
Before you start cleaning, make sure the actual construction phase is far enough along that you are not constantly working against new dust.
Large construction waste should already be removed. Tools, building materials and sharp debris should be out of the areas you plan to clean. Water and electricity should be available where needed, and surfaces with special care requirements should be identified before you start.
If cabinets, closets or drawers need to be cleaned internally, leave them empty until the post-renovation cleaning is complete.
It is also worth checking whether any trades are returning to do more sanding, cutting or installation work. If they are, completing a full final clean beforehand may simply create more work for you later.
If you decide to hire a cleaning company instead, the same preparation helps. The more accessible and construction-ready the property is, the more time can be spent actually detailing the finished surfaces rather than moving materials or working around active renovation work.
Think about what the space needs to be ready for
“Finished” can mean different things depending on what happens next.
If you are moving back into a renovated kitchen, you may care most about having the cabinet interiors, counters, appliances and floors ready so everything can be unpacked.
If the property is being listed or photographed, glass, floors, fixtures and presentation may matter most.
If the renovation was completed in an office or commercial space, work areas, washrooms, common areas and customer-facing surfaces may need to be ready before employees or clients return.
Knowing the end goal helps you decide which details need the most attention and when the cleaning is actually complete.
When should you stop cleaning and call someone?
Some renovation cleans are completely manageable to handle yourself, particularly when the project was smaller and the dust is limited.
Others become much more time-consuming once fine dust has spread throughout multiple rooms, settled on walls and trim or worked its way into cabinetry, fixtures and detailed areas.
If you are still making repeated passes with very little improvement, are dealing with a large renovated area or are unsure how to safely treat residue on new materials, bringing in a post-renovation cleaning service may save time and reduce the risk of damaging a finished surface.
Diamond Dynasty Cleaning provides post-renovation and post-construction cleaning for homes and commercial properties in Vaughan and surrounding York Region communities.
Because every renovation is different, the size of the completed area, level of dust, existing buildup, access and condition of the property all help determine the amount of work required.
If you would rather have the final cleanup handled for you, you can contact Diamond Dynasty Cleaning with the project details and what needs to be ready when the cleaning is complete.
The goal is a space that is actually ready
A renovation is not really finished when the contractors pack up. It is finished when the remaining construction dust, residue and buildup have been dealt with and the space is ready for the next stage.
That might mean moving your family back in, stocking new cabinets, photographing the property, handing over a finished project or opening a renovated commercial space.
The cleaning is part of that transition — taking the property from construction complete to ready to use.


Stay Updated
We will send you info about Diamond Dynasty before it's released to the public